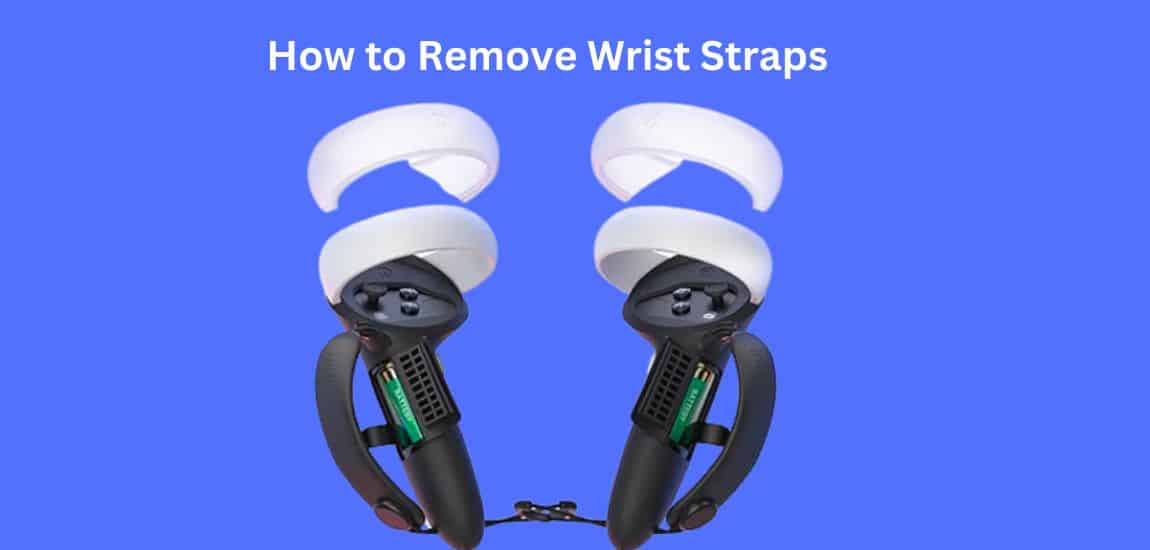
How to Remove Wrist Straps for Oculus Quest 2 Controller
Congratulations on embarking on your VR journey with the Oculus Quest 2! This high-tech marvel promises to whisk you away to fantastical worlds and thrilling adventures. To truly harness its potential, you’ll want to master the basics, starting with knowing how to remove Wrist Straps for the Oculus Quest 2 Controller, for this is a straightforward skill we’ll guide you through, step by step.
In this all-encompassing guide, we won’t stop at merely teaching you how to detach those wrist straps. We’ll also delve into invaluable tips and insights to ensure your Oculus Quest 2 experience is not just good but exceptional. By the end of this article, you’ll be equipped with the knowledge to Remove Wrist Straps for the Oculus Quest 2 Controller
Why Unshackling Your Controllers Matters
Before we embark on this Remove Wrist Straps for Oculus Quest 2 Controller mission, let’s understand why it’s such a game-changer:
- Embracing Mobility: Freeing your controllers means unrestricted movement, a crucial element for a truly immersive gaming experience.
- Ease of Storage and Travel: Slim down your gear for storage or travel without the added bulk of wrist straps.
- Hygiene First: Cleanliness is next to gaming-ness! Removing the wrist straps allows you to thoroughly clean every nook and cranny of your controllers.
Now, let’s dive into the steps that will set your controllers free.
Step-by-Step Guide About Remove Wrist Straps for Oculus Quest 2 Controller

Releasing your Oculus Quest 2 controllers is a piece of cake. Follow these steps to feel the liberation:
Step 1: Identifying the Wrist Strap Loop
Turn your controller over and observe the end where your hand naturally rests. There, you’ll find a small loop or ring attached to the strap. This is your ticket to freedom.
Step 2: Locating the Release Button
Right beside the loop, you’ll spot a small release button. It’s usually a different hue or bears an icon denoting its purpose.
Step 3: Pressing the Release Button
Hold down the release button while gently coaxing the loop away from the controller. You’ll feel the strap start to slide out, like a sigh of relief.
Step 4: Emancipate the Strap
Continue pulling the loop until the strap is entirely free from the controller. Congratulations, you’ve officially unshackled your controller!
Tips for Guardians of Gaming Gear
Now that you’ve liberated your controllers, it’s essential to keep them in top form. Here are some tips for maintaining your gaming gear:
- Regular Cleaning: Show your controllers some love with a gentle wipe-down using a microfiber cloth to remove dirt and sweat. Avoid harsh chemicals that might dull their shine.
- Vigilant Inspection: Periodically check the straps for signs of wear and tear. Replace them promptly to prevent unexpected accidents.
- Nesting Place: When not in use, tuck your controllers in a cool, dry spot away from direct sunlight. They’ll appreciate the cozy shelter.
- Customization Corner: Explore third-party wrist straps if you fancy a unique look or feel for your controllers. Just ensure they’re compatible with the Oculus Quest 2.
Elevating the Gaming Experience
Beyond liberating your controllers, consider these additional tweaks to elevate your gaming experience:
1. Comfort Couture
Pamper yourself with comfort mods like extra padding for the headset and controllers. Your gaming sessions will thank you with hours of uninterrupted play.
2. Dive into VR Wonderland
The Oculus Quest 2 boasts a treasure trove of VR content. Explore different genres, from adrenaline-pumping adventures to zen-like experiences, for a gaming experience tailored to your taste.
3. Safety First
Clear your gaming area of any potential hazards to ensure a safe and free-flowing virtual adventure.
4. Stay Updated
Regularly update your Oculus Quest 2 software and firmware. These updates often bring enhancements, bug fixes, and exciting new features.
Conclusion About Remove Wrist Straps for Oculus Quest 2 Controller
Congratulations on unlocking the potential of your Oculus Quest 2 controllers! This newfound freedom will undoubtedly elevate your VR adventures. Remember, regular care ensures your gear stays in prime condition for countless gaming journeys ahead.
If you have any questions or need further guidance, explore our FAQs below.
FAQs About Remove Wrist Straps for Oculus Quest 2 Controller
Can I use third-party wrist straps with my Oculus Quest 2 controllers?
Absolutely! Just ensure they’re compatible with the Oculus Quest 2 controllers for a seamless fit.
Do I need to remove the wrist straps to clean my controllers?
While not mandatory, removing the wrist straps facilitates a more thorough cleaning for a pristine gaming experience.
What should I do if my wrist strap is damaged or frayed?
It’s best to replace it promptly to avoid any accidents or mishaps during your gaming adventures.
Can I still use my Oculus Quest 2 controllers without the wrist straps?
Indeed! Exercise caution to prevent any accidental drops, and you’re good to go.
How do I reattach the wrist straps to my controllers?
Reattaching is a breeze. Simply slide the loop back onto the controller and click it into place.
Thank you for choosing us as your go-to source for Oculus Quest 2 controller wisdom. Wishing you countless hours of immersive gaming fun!
Last Updated on 12 September 2023 by Ray Imran

Author Fajar Tariq’s gaming controllers offer diverse input options for video games, enhancing user experience and accessibility. From traditional gamepads to innovative hands-free and VR controllers, they cater to various needs and preferences in gaming.